Position overrides are an extremely useful tool when you want to take maximum control over the way your view is displayed in the front end. In SEBLOD views, each of these areas are considered as "positions":
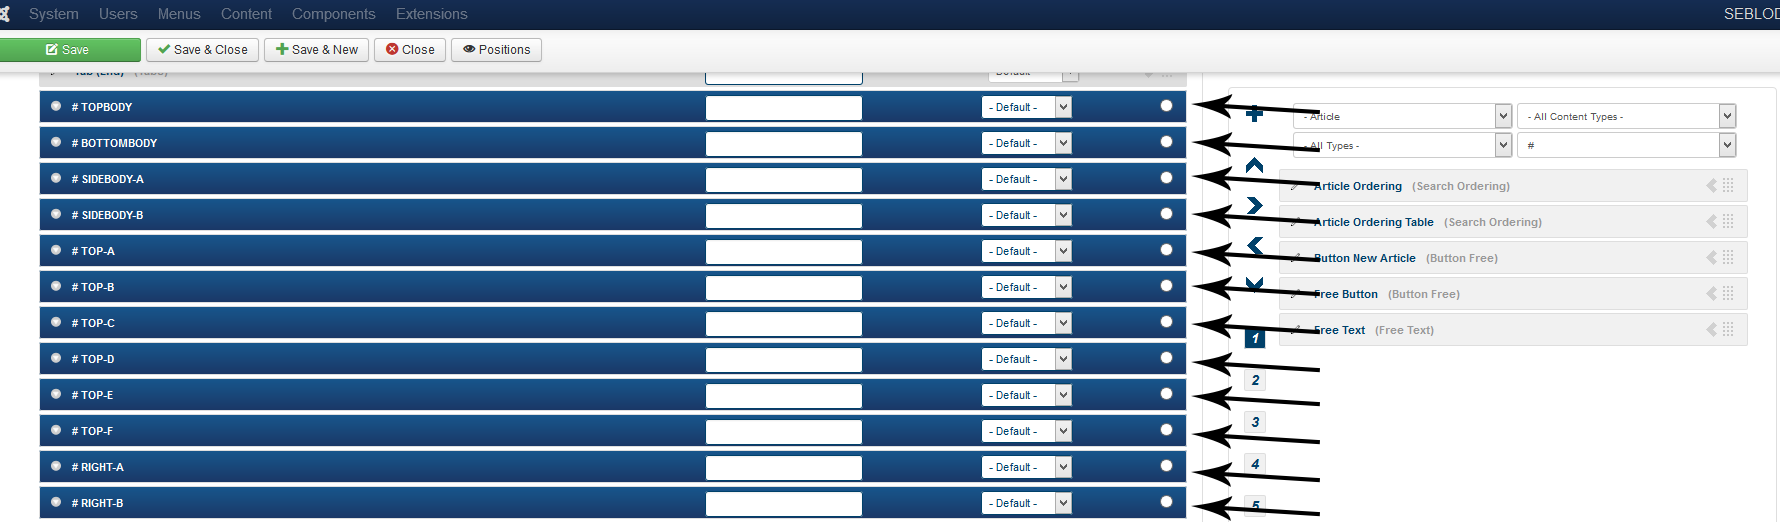
If you add your fields in to one of these poisitions, you can then override the output using a PHP file and a particular folder structure.
Template Override Folder Structure
The folder structure needed to override the default SEBLOD template output is typically of the form:
JOOMLA ROOT / Templates / SEBLOD template name / Positions / Content type (or List type) name / View name / Position name.php
So, if for example I wanted to change the layout of the "Topbody" position of my Article's Site Form view in the Seb_One template, I would create a new .php file called " topbody.php" and place it within the folder templates/seb_one/positions/article/site/
The other folder structures required for overriding positions in each view (using the seb_one template as an example) are:
- Site forms: templates/seb_one/positions/article/site/
- Admin forms: templates/seb_one/positions/article/admin/
- Search forms: templates/seb_one/positions/article/search/
- Item view: templates/seb_one/positions/article/item/
- Content view: templates/seb_one/positions/article/content/
- List view: it is not currently possible to override a list view
Of course, you can change seb_one to any other SEBLOD template that you are using, like seb_minima.
Your position override file
Your position override php file should have this code at the top, placed within PHP tags:
// No Direct Access
defined( '_JEXEC' ) or die;
After that, you're ready to retrieve your fields
Retrieving your Fields
Now that you have created your position override template file, and assigned your fields to that template position, you're ready to retrieve your SEBLOD fields.
You can retrieve any of the fields you have added to your template position in one of 3 ways:
- $cck->renderField('field_name');
- $cck->getValue('field_name');
- $cck->get('field_name')->value;
$cck->renderField('field_name')
The renderField(); approach is most probably the most common one, and for good reason. renderField() will render the value of your field, taking into account ALL internal SEBLOD core properties you've applied to the field. To make this simpler to understand, let's take the following scenario:
You have used the 'article' content type and created a new field called 'article_image'. In your 'configuration' tab of your content type setup screen you have set 'show labels' to 'yes'.
In your 'typo' area of the 'content' client (or tab) you have applied the 'image' typo to your new 'article_image' field and specified that the default image to show must be 'thumb 1' and when clicked must open the original image.
Let's assume you have assigned this field to the 'mainbody' position and you are now wanting to call your fields in a custom override file. You decide to use the renderField(); method, so your code would look as follows:
echo $cck->renderField('article_image');
So what does the simple line of code above do? Very simply, the renderField(); method will check which field you are rendering, get all typos and links (or any other stuff you've applied to it) and make sure all those rules are obeyed and applied. It will also take into account your template configuration options you set when in the content type creation / edition screen.
The above code will:
- Not show a field label because we set that option to 'no' in the configuration tab when creating our content type
- Will render the thumb 1 image of the 'article_image' field because you assigned the image typo and set such options
- Will open the original sized image in a lightbox window when the above thumb is clicked, because that is what you specified should happen in the typo options
So it's simple really, using renderField(); will return the value of a field, as well as all it's typo, link and configuration options of the template.
What if you did not want all these typos etc applied to the field and you simply wanted to get the value of the field? That brings us to the getValue(); method which does just that.
$cck->getValue('field_name')
The getValue(); method is used in exactly the same manner as the renderField(); method, the difference being that it will simply return the raw value of the field, not taking into account content links, typo's etc.
Again, let's use our 'article_image' field as an example. Let's get the value of our field using the getValue(); method:
echo $cck->getValue('article_image');Rather than getting the thumbnail with a link to the full image, the above code will simply return the value of our field, and in this case that will simply be the full path to the image, for example:
images/products/bakery/banana_bread.jpg
It will then be up to you assign this value to an
tag, get the width and height etc, whould you wish to actually render the image in your template. Of course if your field is simply a text field - for example - this raw value would simply be the value entered into that text field when the form was saved.
Now what if you wanted to get other values such as labels, links, descriptions etc? You can simply replace Value with the property you want to retreive, eg:
echo $cck->getLabel('article_image');
echo $cck->getLink('article_image');
echo $cck->getDescription('article_image');
It get's even better. Let's assume you have a field that is not a text input, and is instead a check box. If you wanted to get the actual options text as opposed to it's value, you could call it as follows:
echo $cck->getText('some_checkbox_field');
For even more advanced uses, we can get the entire HTML code set of the field. A typical scenario for such a call would be to render an image upload field in it's entirety:
echo $cck->getHtml('image_upload_field');
Or if you wanted to get individual thumbnails from an image upload field, we'd call it like this:
echo $cck->getThumb1('image_upload_field');
echo $cck->getThumb2('image_upload_field');
echo $cck->getThumb3('image_upload_field');$cck->get('field_name')->value
The $cck->get('field_name')->value approach will return the value in the same format that getValue() will, and it is thus an alias to the getValue(); method:>
echo $cck->get('article_image')->name; // returns article_image
echo $cck->get('article_image')->value; // returns /path/to/image.jpgNever forget that when using the getValue() approach, the returned value will NOT have any typo's or links applied to them, even if you've assigned them to your fields when creating your content type. This is because we access the values directly, whereas the renderField() approach uses multiple internal methods to get typo and link values and apply them to the returned value.
Special thanks to Simon Dowdles for originally creating this content